Creatures of Habit: Devlog Chronicles - Part 4
Reaching the final stretch
Project Progress
We’re getting close to the end, folks! Most of the main features are complete and working, except for a handful of bugs that aren’t breaking the app. However, I’d like to address them before pushing this to production. For those curious, here are the features that have been built and completed:
- **Quest System** (DB, API, UI, rewards)
- **Authentication** (login, signup, password recovery, rate limiting)
- **Habit Tracking** (create, complete, categories, frequencies, streaks)
- **Character System** (creatures, stats, XP, leveling)
- **Equipment System** (schema, definitions, display) (Item creation/generation will be a future enhancement)
- **Dashboard** (daily progress, habit overview)
- **Settings** (preferences UI + backend)
- **Security** (rate limiting, security headers, CSRF)
- **Tauri Integration** (desktop-ready)
- **Test Coverage** (142 passing tests)
At first glance, by a layman, this might look like a very short list of completed features, but let me tell you, I’ve never worked so in-depth within the noted areas for any project I’ve worked on in the past. The amount of code needed to fulfill the specific definition of done for these milestones is considerably greater than if I were to just create a standard habit tracking app, caused by my own hand and ambition, lol. The Character Progression, Custom Authentication (should have just used BetterAuth 🥲 but I now have a tested example for when it DOES make sense to create my own auth system lol), Quest Systems, and Security/Test coverage are the main culprits for this added complexity. However, I don’t (fully) regret my decisions one bit! I’m 1 month away from my year of starting the work on it, and it’s looking like I’ll be hitting my timeline for when I wanted to have an MVP for this project. With that said, let's get into the main updates since Part 3.
Just a Few New Features
I feel most of my work since the last post has been more “re-working” of existing features, bug fixes, and enhancing a few areas, whether it was for UX or if it was for my own repo organization and efficiency. There were a few features introduced, though, that wrapped up the feature work needed for the MVP.
Quest System
Waitlist
Dynamic Navigation
These ^ are the features that add the final pieces to MVP, and the bulk of the addition was for the Quest System. That feature required the reworking of a few of my existing components, like the stat allocation system, character progression, and the need for an update to the schema, let alone building out the quest system logic. I honestly didn’t know how I’d approach this at first, but I figured I’d keep it simple.
Quest System
How the Quests Work
The quests are generated on a daily basis, and the user gets one quest per day. They are not entirely dynamic at the moment, but the order and correct answers are randomized. Each question has a skill check that has a chance of success based on the user’s corresponding stat. There are 3 levels of rewards for completing the quest.
Less than 3 questions right: 50 EXP
3 out of 5 questions right: 100 EXP + 1 Stat Boost point
5 out of 5 questions right: 100 EXP + 2 Stat Boost points
Once the quest is complete, you’ll see the start button greyed out and a (broken) time displayed on the page. I’ll eventually get around to fixing the timer, but not too worried about that for the MVP.
The Overhaul Needed for the Quest Service
Off the rip, new Quest Service tables were needed:

Okay, boring part out of the way. If you're curious about how those tables were built out, parse through the GitHub repo to your heart’s desire. What I want to get into is the challenges and nitty-gritty of how the quest system works under the hood.
The Daily Quest Generation Challenge
The first major hurdle was figuring out how to generate "one quest per day" without creating duplicates or letting users spam quests. So I took this approach:
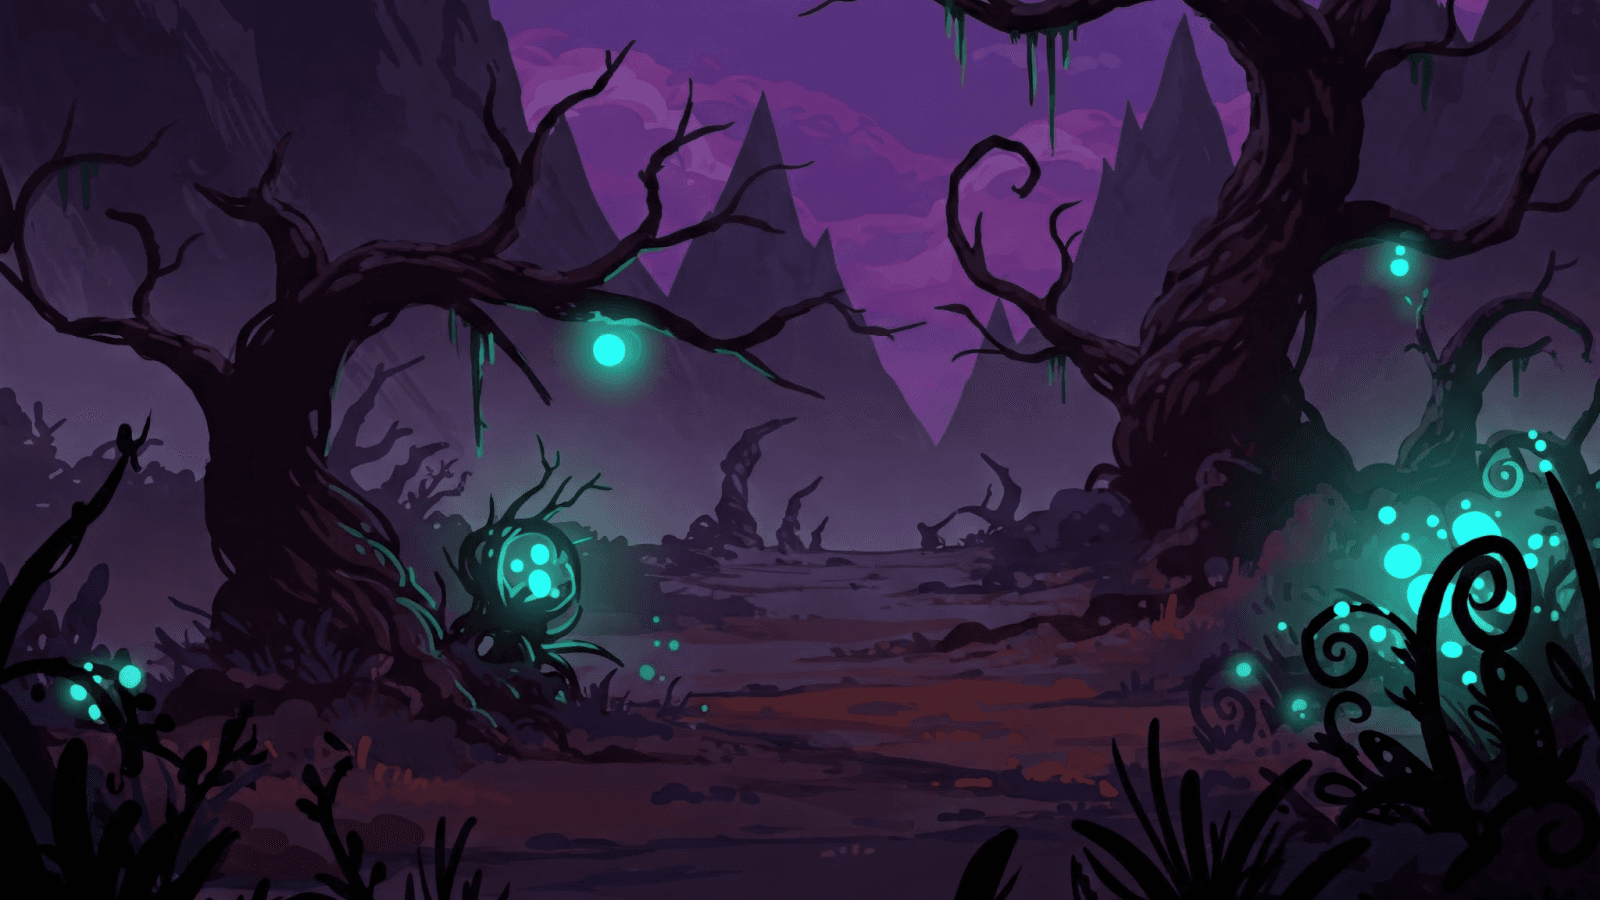
Template-Based Generation: I didn’t have the time (or, quite frankly, the skillset 🥲) to do what I wanted, which was to have an LLM generate unique questions and answers at random. So I created a seeding system that populates quest_templates with pre-written quest scenarios. Each template includes:
A narrative setting (forest, dungeon, city, etc.)
Difficulty level (easy, medium, hard)
Base reward values
Daily Instance Creation: The getDailyQuest() function in questService.ts checks if the user already has a quest for today by:
Querying for any quest instances created today (using date comparison)
If none exists, creates a new instance from a random template
Generating 5 questions using the
generateQuestQuestions()helper
This approach got me as close to what I wanted within my capacity: consistent quest quality from templates, but enough randomization to keep things fresh.
Stat Check System: The Feature That’s Supposed to Hook Ya.
So up until this point, the stats didn’t really mean anything. Adding the skill checks for the quest system gave these stats purpose in life. The only stat that really meant anything was “Constitution” but it only increased the user’s health…….which is never altered since there are no battles lol, so in the end it was useless too. But while stats are going to be connected in the future with other features if/when they are added (Equipment requirements, Boss Fights, etc.), having them connected to the Quests is good enough for MVP.
The logic works like this:
const userStat = userStats[question.requiredStat]; // e.g., user's strength = 12
const threshold = question.difficultyThreshold; // e.g., 10 for medium difficulty
const successChance = Math.min(0.95, Math.max(0.05, userStat / threshold));
const passed = Math.random() < successChance;
So if you have 15 strength and the question requires 10 strength, you have a 95% chance of success (capped at 95% to keep things interesting). But if you only have 5 strength, you're looking at a 50% chance. This creates a real incentive to invest in your stats through the stat boost point system.
The Stat Boost Point Economy
This is where the quest system ties back into the progression loop. Completing quests with 3+ correct answers awards stat boost points, which users can spend to permanently increase any stat. This created a nice feedback loop:
Complete habits → Gain XP → Level up
Take daily quest → Answer questions (success based on stats)
Complete quest → Earn stat boost points
Spend points to increase stats
Higher stats → Better quest success rates → More points
But this also meant I had to refactor the entire stat system. Previously, stats were just static values from character creation. Now they needed to be:
Mutable (users can boost them)
Tracked separately (base stats vs. equipment bonuses vs. racial bonuses)
Calculated dynamically (effective stats = base + race + class + equipment)
I added a statBoostPoints column to the creature_stats table and created new API endpoints:
GET /api/character/stat-boost-points- Fetch current stats and available pointsPOST /api/character/boost-stat- Spend a point to increase a stat
Question Generation: The Rule-Based Approach
I initially considered using an LLM to generate quest questions dynamically, but that introduced too many variables (API costs, latency, content moderation, consistency). Instead, I built a rule-based question bank system in questHelpers.ts.
Each stat type has a pool of ~10-15 question templates with thematic choices:
Strength questions: Physical challenges.
Intelligence questions: Puzzles and logic problems.
Wisdom questions: Moral dilemmas and perception checks.
Charisma questions: Social situations and persuasion.
Dexterity questions: Agility and precision tasks.
Constitution questions: Endurance and resilience tests.
The generateQuestQuestions() function randomly selects 5 questions (one per stat, or weighted by quest difficulty), shuffles them, and randomizes which choice (A or B) is correct. This gives the illusion of variety without the complexity of true procedural generation.
The Integration Testing Headache
Getting the quest system done was only half the battle. I ran into multiple roadblocks getting it to work reliably in the CI workflow.
The integration tests initially failed in GitHub Actions because I was using mock Turso database URLs that didn't actually exist. The tests would try to connect to libsql://mock-db.turso.io and get HTTP 404 errors. The solution was to:
Switch to local SQLite databases for testing (
file:test.db)Create test-specific versions of quest service functions
Set up proper test data with users, creatures, stats, and quest templates
Ensure cleanup between tests to avoid state pollution
I also had to update the test database schema in test-db.ts to include all the quest-related tables and their foreign key relationships. This was tedious but necessary to catch bugs before they hit production.
The Reward Calculation Logic
The reward system needed to be fair, but also needed to incentivize good performance. Behold the simple as hell tier system:
const correctAnswers = questInstance.correctAnswers;
let expReward = questInstance.expRewardBase; // 50 XP base
let statBoostPoints = 0;

if (correctAnswers >= 5) {
  expReward += questInstance.expRewardBonus; // +100 XP
  statBoostPoints = 2;
} else if (correctAnswers >= 3) {
  expReward += questInstance.expRewardBonus; // +100 XP
  statBoostPoints = 1;
}
This creates clear breakpoints: getting 3 right is the minimum for bonus rewards, and perfect scores are doubly rewarded. It also means even if you fail the quest, you still get something (50 XP), so it never feels like a complete waste.
Things That Could Improve the Quest System
Use a state machine for quest status transitions (available → active → completed) to prevent edge cases
Add quest categories (combat, exploration, social) to give users more variety
Implement a cooldown system instead of strict "one per day" to be more forgiving of different timezones
Cache quest questions on the client to reduce API calls during the quest flow
Add quest history so users can see their past performance and track improvement
Not going to even think about these, though, until after this is cleaned up and ready for production. These improvements would just be for if people actually start using this app…..which I doubt will happen 😄.
Waitlist Feature
I wanted a way to gather a bit of data related to interest in this app. This feature is more so a test to see if folks are interested in things I’m making, and from what I’ve researched about people creating products or applications, is that the waitlist is the easiest and quickest field test for interest in your product. I don’t think too many people will actually sign up, but the hope is that a few will, and it will give me a bit of insight into how to effectively use a waitlist for the next thing I build. The way I built mine out is a bit different from how one might typically set it up due to the stack I used, but here is the gist of how this was set up.
The Database Schema: More Than Just Emails
Most waitlists just capture an email address and call it a day. But since I'm treating this as a learning experience, I wanted to capture data that would actually be useful for understanding any interested users:
user_waitlist {
  id: UUID
  email: unique, required
  ipAddress: optional
  userAgent: optional
  referralSource: optional
  subscribedAt: timestamp
}
The analytics fields (ipAddress, userAgent, referralSource) give me insights into:
Geographic distribution of interest
Device types (mobile vs. desktop)
Traffic sources (social media, direct, referrals)
These are all optional and anonymized in logs, so I'm not storing anything sensitive, but they'll help me understand where interested audiences are coming from and what devices they're using.
Rate Limiting to Swat 👋🏾 Spam
One thing I learned early on is that any public-facing form needs rate limiting. Without it, someone could easily spam the database with fake emails or run a script to fill it with trash data.
I reused my existing rateLimit middleware (which was built for the authentication endpoints) and applied it to the waitlist API:
await rateLimit(event, {
  windowMs: 60 * 60 * 1000, // 1 hour window
  maxRequests: 5,           // 5 submissions per hour
  message: 'Too many waitlist submissions. Please try again later.'
});
Five submissions per hour felt sufficient—strict enough to prevent abuse, but lenient enough that someone who mistypes their email isn't locked out.
The Duplicate Email Problem
This was one of those "seems simple, but actually isn't" problems. What happens when someone tries to sign up twice? I needed to handle three scenarios:
New email → Add to database, show success
Duplicate email (caught by my query) → Show "already signed up" message
Duplicate email (caught by database constraint) → Show "already signed up" message
The tricky part was that SQLite's unique constraint throws an error on duplicates, but I wanted to handle this gracefully without showing users a scary error message.
My solution was to check proactively first:
const existingEntry = await db.select()
  .from(schema.userWaitlist)
  .where(eq(schema.userWaitlist.email, email))
  .limit(1);

if (existingEntry.length > 0) {
  return json({
    success: true,
    message: 'You\'re already on our waitlist!',
    alreadySignedUp: true,
    redirectTo: '/waitlist/thank-you'
  });
}
Then catch any constraint violations as a fallback:
if (message.includes('unique') || message.includes('constraint')) {
  return json({
    success: true, // Still return success!
    message: 'You\'re already on our waitlist!',
    alreadySignedUp: true,
    redirectTo: '/waitlist/thank-you'
  });
}
Notice that I return success: true even for duplicates. From the user's perspective, their goal (being on the waitlist) is achieved, so it's a success. This was a UX decision that took me a minute to arrive at. Initially, I was returning an error, but that felt wrong.
Privacy-Conscious Analytics with PostHog
I wanted to track waitlist conversions without storing raw email addresses in my analytics platform. The solution was to hash emails on the client side before sending them to PostHog:
async function anonymizeEmail(email: string): Promise<string> {
  const emailHash = await crypto.subtle.digest('SHA-256',
    new TextEncoder().encode(email));
  return Array.from(new Uint8Array(emailHash))
    .map(b => b.toString(16).padStart(2, '0'))
    .join('');
}

posthog.capture('waitlist_submission', {
  email_hash: emailHash,
  success: true,
  redirectTo: result.redirectTo || null,
  error: null
});
This gives me conversion tracking and funnel analysis without compromising user privacy. The hash is one-way, so I can't reverse it to get the original email, but I can still track unique conversions and identify patterns. This felt like the right approach for a privacy-conscious app.
The Thank You Page: Adding Social Proof
After submission, users are redirected to a thank you page that shows how many people have joined the waitlist:
const waitlistCount = await db.select({count: count()})
  .from(userWaitlist);

return {
  potentialHeroes: {
    usersJoined: waitlistCount[0]?.count ?? 0,
    launchDate: 'Q1 2026',
  }
};
"Join {# of waitlist users} early adopters" is more compelling than just "Thanks for signing up" and it’s a nice lil tally for the public to see how many other people would be enjoying the app with them.
The count is queried server-side on every page load, so it's always up-to-date. For a high-traffic site, I'd probably cache this, but for a pre-launch waitlist, the real-time count feels more valuable.
Automatic Referral Source Tracking
One feature I'm particularly happy with is the automatic referral tracking:
const referralSource = validatedData.referralSource ||
  event.request.headers.get('referer') ||
  'direct';
This automatically captures where users came from, even without custom UTM parameters. I can still add custom referral parameters (like ?ref=twitter) to track specific campaigns, but the automatic fallback to the HTTP referer header means I get data even without them.
This will help me answer questions like:
Which social media platform drives the most signups?
Are people finding me through organic search or paid ads?
Input Validation: Keeping Data Clean
I used Zod for runtime validation of the email input:
const waitlistSchema = z.object({
  email: z.string().email('Please enter a valid email address'),
  referralSource: z.string().optional(),
});
This catches malformed emails before they hit the database and provides user-friendly error messages. The validation runs server-side, so even if someone bypasses the frontend validation (by using curl or Postman), they can't submit garbage data.
What I Learned
Building this waitlist feature taught me a few things:
Rate limiting is non-negotiable - Any public form needs protection from spam
Error handling is UX - How you handle duplicates and errors matters as much as the happy path
Analytics need privacy - You can track conversions without compromising user data
Social proof works - Showing the signup count makes the page feel more alive
There are a handful of things I still need to add though:
Email verification
A referral program (…..maybe)
More fields to capture user interests or feature requests
An admin dashboard to view signups and export emails
But for a first attempt at a waitlist? I'm happy with how it turned out. It's secure, it handles edge cases, and it's already set to provide me with useful data about who's interested in the app.
Dynamic Navigation Update
This one is cut and dry, I updated the nav to be different for folks who aren’t signed in and for people who are. Initially, most of the nav items were all related to a user’s profile, quests, and creature info. So, I needed to improve the UX so that the navigation that showed for the user was usable and useful.
Unauthenticated User
For unauthenticated users, the user still sees the homepage, but there is a brand new Waitlist landing page they can go to where they can sign up. But notice that the nav only has 4 links, which are all informational:

Waitlist
Features
How It Works
FAQ
These links are also in the footer, but this gives the user more visibility to informational pages about this app and what would eventually include information about myself and Digital Dopamine LLC 😏.
There’s not much else to get into regarding this feature since most of the work was for the waitlist portion, but here is the portion of my Header.svelte component was updated:
    // User navigation items
    const userNavItems = [
      { href: '/dashboard', label: 'Dashboard' },
      { href: '/habits', label: 'Habits' },
      { href: '/character/details', label: 'Character' },
      { href: '/quests', label: 'Quests' }
    ];

    // Marketing navigation items (shown when not authenticated)
    const marketingNavItems = [
      { href: '/waitlist', label: 'Waitlist' },
      { href: '/features', label: 'Features' },
      { href: '/how-to-play', label: 'How It Works' },
      { href: '/faq', label: 'FAQ' }
    ];

    // Auth items for consistent usage
    const authItems: Array<{ href: string; label: string; variant: ButtonVariant }> = [
      { href: '/login', label: 'Log in', variant: 'secondary' },
      { href: '/signup', label: 'Sign up', variant: 'default' }
    ];

    const path = $derived($page.url.pathname);
    const isAuthenticated = $derived(!!$page.data.user);
    const navItems = $derived(isAuthenticated ? userNavItems : marketingNavItems);
The header uses Svelte 5's $derived runes to automatically switch between two navigation menus based on whether the user is authenticated. Authenticated users see the “user navigation”, while visitors see “marketing pages”. This keeps the navigation clean and contextually relevant.
Cleanup and Stompin’ on Bugs
Was two-stepping on bugs so good, Orkin called and asked for consulting. And if you need a visual example of what I mean…..

This ^…….This is how I was steppin’ on em 😂. All jokes aside, there were a TON of bug fixes that went into place over the last couple of months, as well as some overall cleanup. Removed a good amount of code that had no purpose anymore….or at all lol. I also made a few visual updates to the character creation so it feels a bit more prod-ready.
Icons + Logo
All icons, including my logo, got an update. I’m leveraging game-icons in place of my custom-made (and very sloppy-looking 🥴) icons, I made at the start of this project. The OG logo, while not sloppy, still looked a little too pixelated for what I was aiming for, so I used another random icon from game-icons and altered it to give it a custom color scheme. It’s all still SVGs, so that’s a plus, and if needed, I can go in and customize each icon as I see fit. But for now, most of them will just remain the default color of white with black outlines.
Looking Ahead
As we approach the finish line for MVP, there are just a few main things I want to take care of before making a Beta live for people to test out:
API Endpoint Fixes
Fix Failing Tests
A bit of UX + UI polishing
Basic documentation
This should be about 2 to maybe 3 weeks of work, depending on how busy I am with other life responsibilities. But there is a chance I get some additional free time earlier than that and might power through the final bit of work I want to complete. But that’s it for now and the next post you’ll see from me is when the app is live on a very cool URL 😉.
Until next time, folks. Be easy and keep pushin’ 🤘🏾.